
Hey folks! Thanks for stopping by! Today I’m going to dive into using the linkerd service mesh to route traffic between 2 Tanzu Kubernetes Grid, or tkg, clusters.
We’re going to look at this because I see more and more folks looking at either spanning services between clusters or connecting an app in one cluster with a service in another. It could be for high availability reasons, in order to isolate workloads with more strict regulatory requirements, or even just to let stateful services run in their own clusters. Linkerd provides a secure, and relatively easy, way to do this and I’m going to set it up today. I hope you’re able to follow along and I’d love to hear if you have any thoughts on the process.
Thanks!
The Set Up
What we’re using:
- The tkg cli
- to create, manage, and scale our k8s clusters
- made with version 1.2.0
- The linkerd cli
- to do all our Linkerd work
- made with version stable-2.9.0
- Our podinfo app
- The step cli
- to generate our certificates
- made with version 0.15.3
- Tanzu Mission Control (Optional component)
- To manage our tkg clusters
- The tmc cli (Optional component)
- To connect our clusters to Tanzu Mission Control (TMC)
- You can download this from your Tanzu Mission Control portal
Creating and Managing our Clusters
I’ve previously set up a tkg management cluster in AWS and used it to provision two new clusters.
tkg create cluster -p dev -w 1 workload1
tkg create cluster -p dev -w 1 workload2
Once tkg finished with the cluster create I pulled down the relevant kubeconfig files and added them to Tanzu Mission Control. You have a couple options for adding them to TMC but I chose to use the cli.
# Get the kubeconfigs
tkg get credentials workload1 --export-file ~/configs/workload1
tkg get credentials workload1 --export-file ~/configs/workload2
Here you have the optional TMC commands, if you aren’t using TMC please skip ahead.
# login to TMC
tmc login

# Add your clusters
tmc cluster attach -n workload1 -g jmo -k ~/configs/workload1
tmc cluster attach -n workload2 -g jmo -k ~/configs/workload2
## I had already created a cluster group in TMC
Once the clusters appear in TMC you can move on to the next step.

Install Linkerd in Multi Cluster Mode
Setting up the CA
I’m following the Linkerd multi cluster docs you can find here. I start out creating a new root certificate authority with step.
# Generate the root ca

step certificate create identity.linkerd.cluster.local root.crt root.key \
  --profile root-ca --no-password --insecure --san identity.linkerd.cluster.local

# Generate an intermediary ca

step certificate create identity.linkerd.cluster.local issuer.crt issuer.key \
  --profile intermediate-ca --not-after 8760h --no-password --insecure \
  --ca root.crt --ca-key root.key --san identity.linkerd.cluster.local
We use the the ca to establish a common trust between the meshes in both clusters. You can find a lot more useful details about the certificates and how they’re used here and here.
Install the Mesh
Test your Clusters
First things first, lets ensure our clusters are good to go. Linkerd’s cli comes with a handy dandy check feature to see if your cluster is ready.
linkerd check --pre
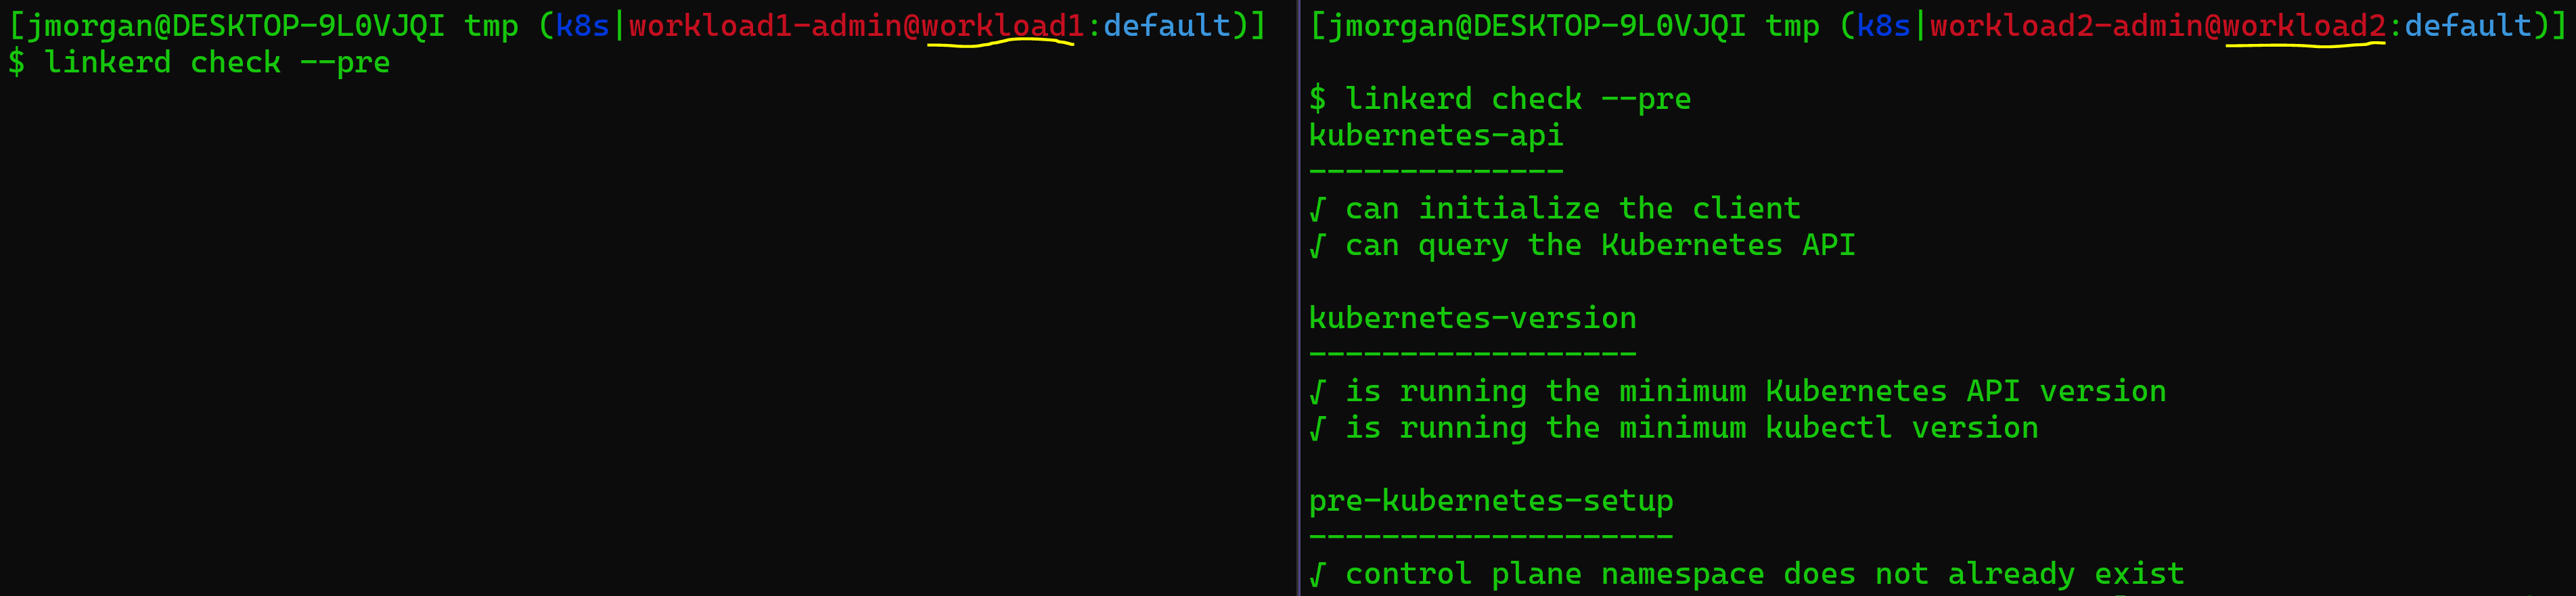
Depending on your kubernetes api and Linkerd versions you may get some warnings about the crd api version is but that won’t impact the install.
If you are using TMC you’ll get additional warnings about Pod Security Policies (PSPs), you can safely ignore them provided you aren’t enforcing them, otherwise you’ll need to appropriately configure your PSPs which is beyond the scope of this article.
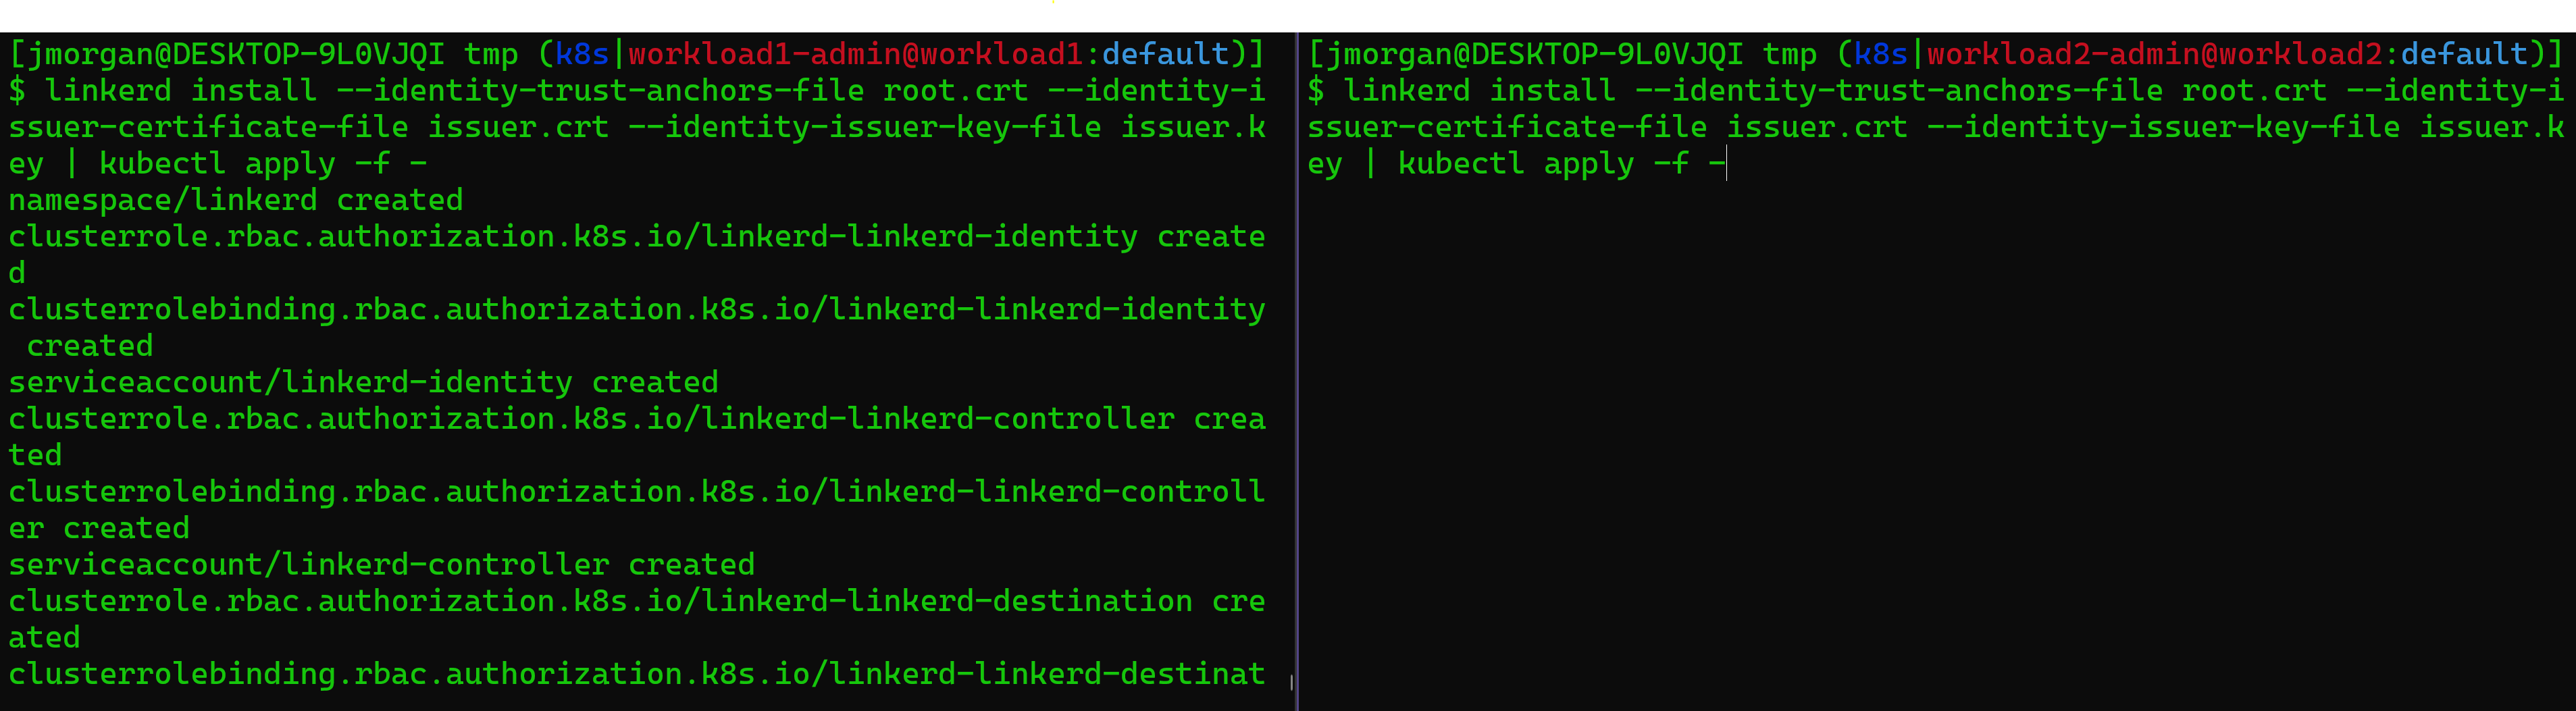
Running the Install
Provided you’re happy with the results of your pre checks it’s time to run the install. I like to set up two terminals, one for each cluster.
# Run this once per cluster

## Be sure your paths to the certs are valid, either by executing this in the same directory as the step command or by fixing the path.

linkerd install \
  --identity-trust-anchors-file root.crt \
  --identity-issuer-certificate-file issuer.crt \
  --identity-issuer-key-file issuer.key \
  | kubectl apply -f -
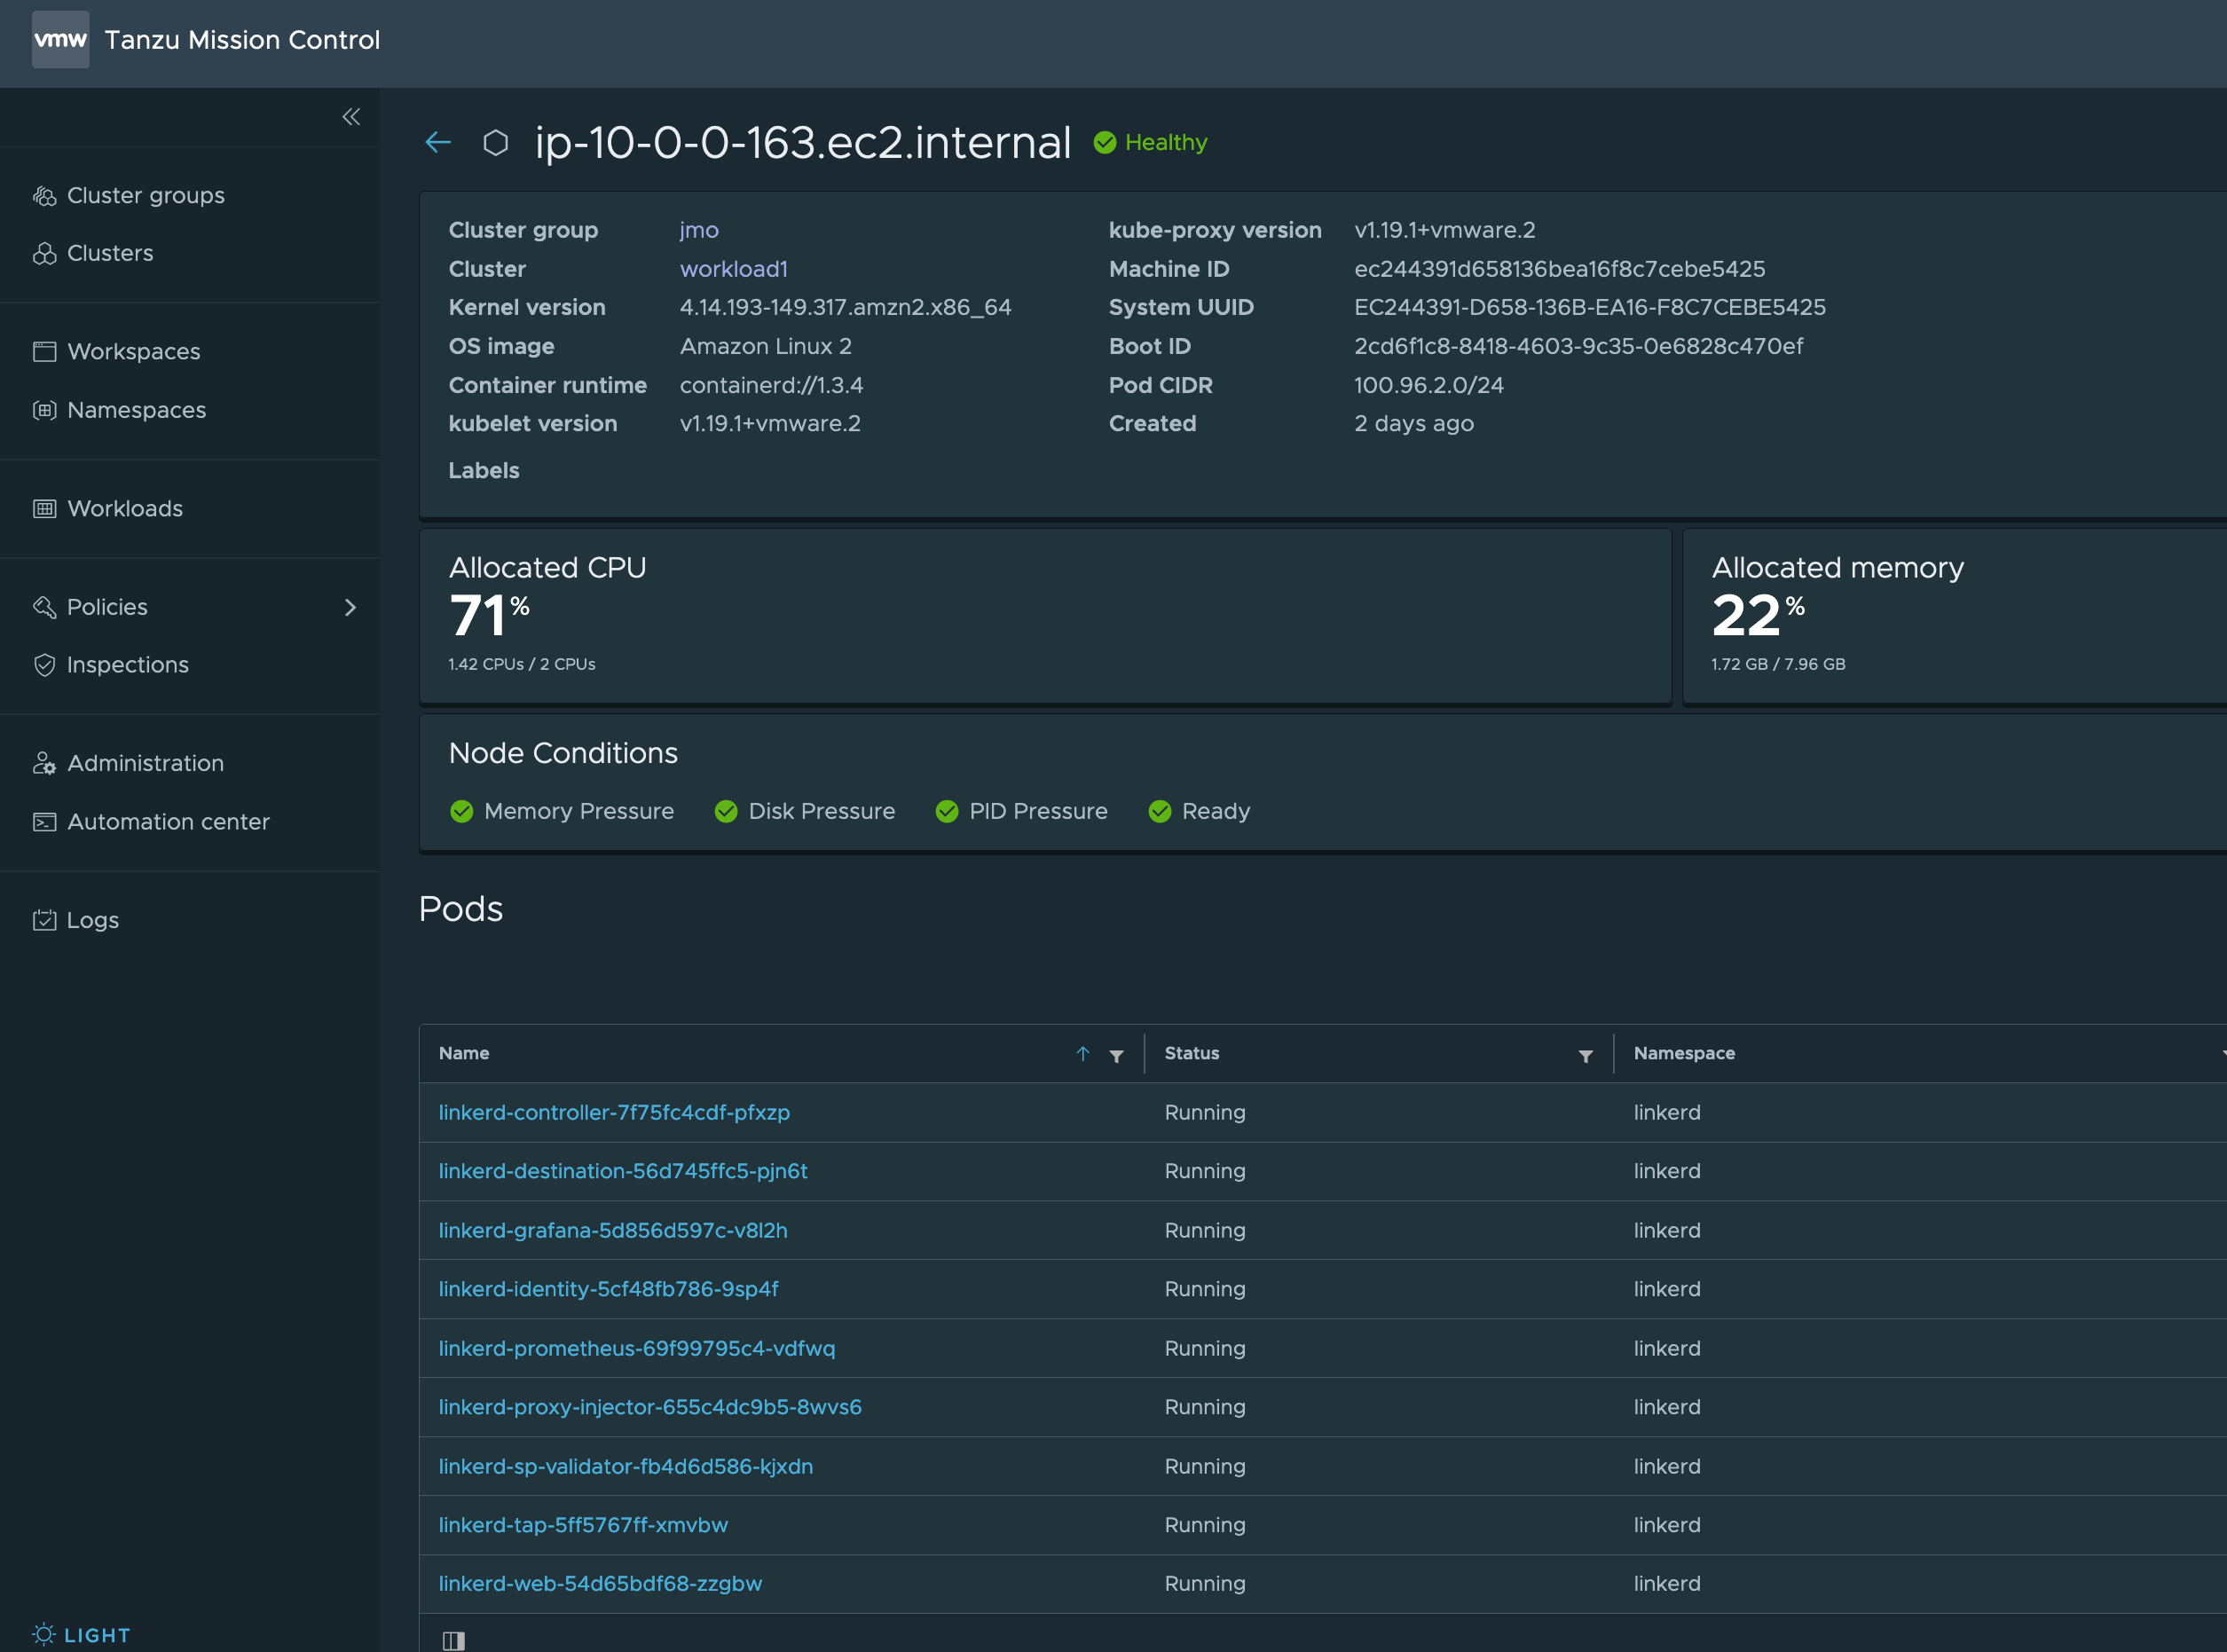
Once that’s wrapped wait a few minutes for the pods to boot up. You can watch the linkerd namespace or, if you’re using tmc you can take a peak at the workloads under the workloads tab or by looking at one of the worker nodes.
# Run this for each cluster
watch kubectl get pods -n linkerd
or
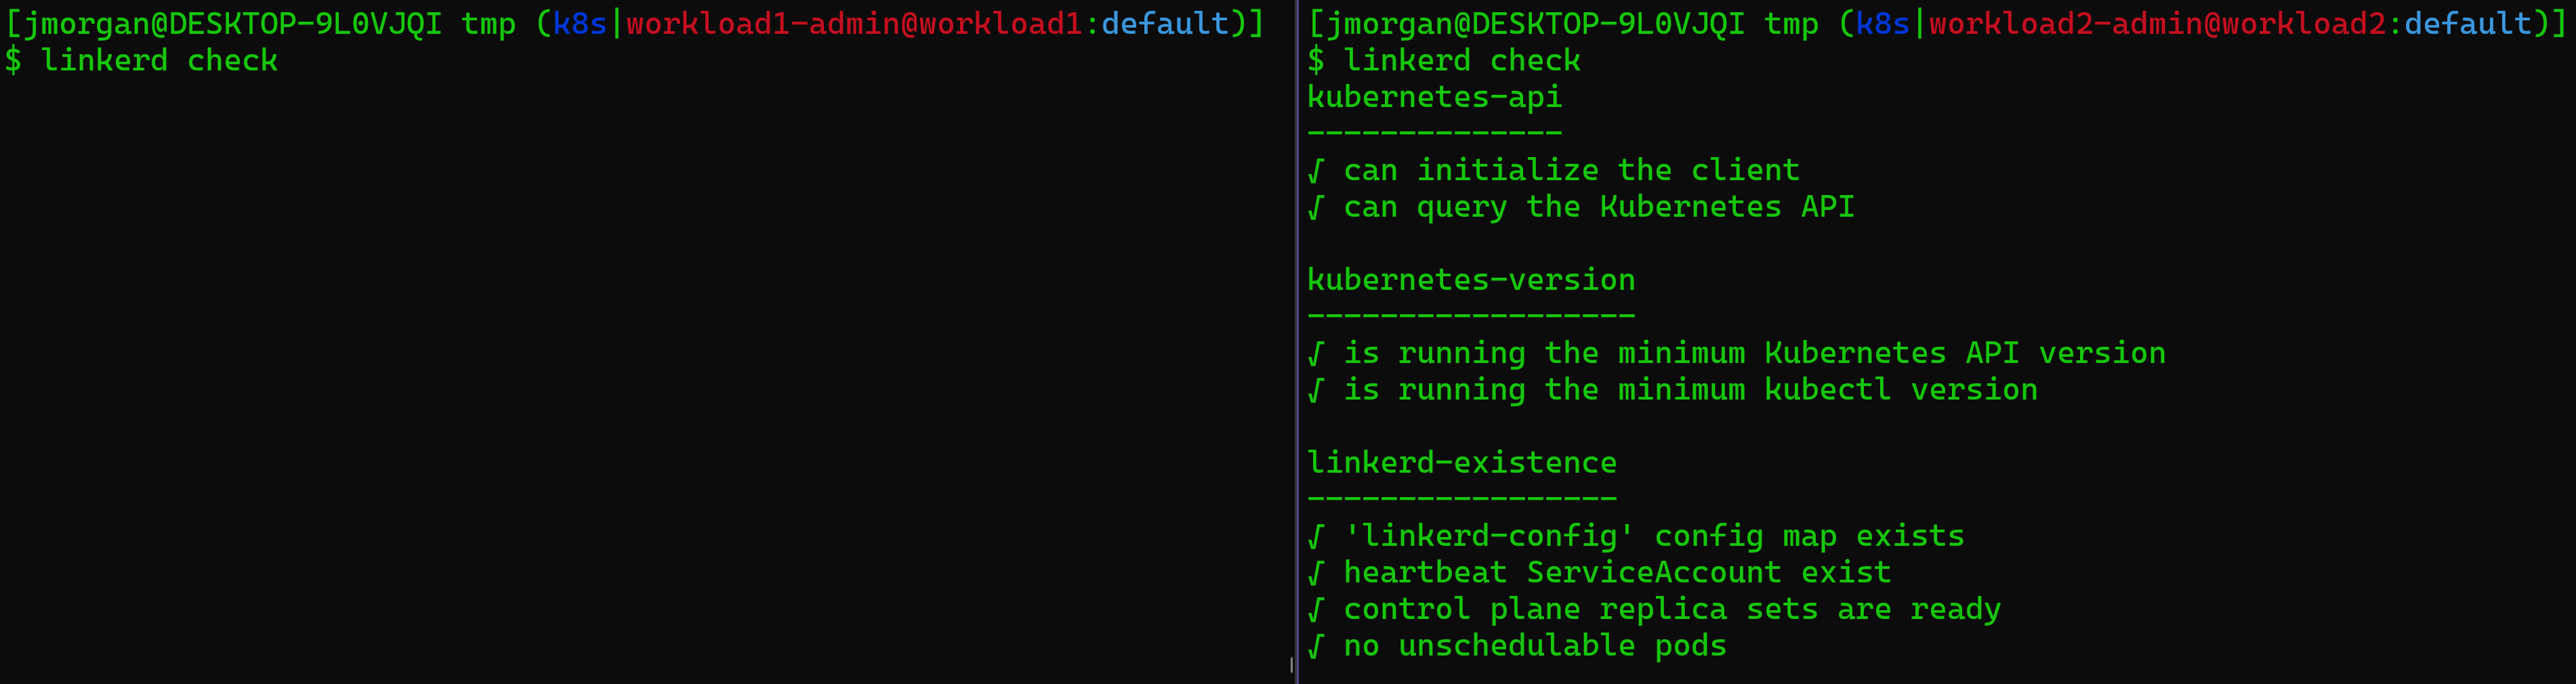
After the control plane is available you can check the status of Linkerd using the cli. Linkerd goes out of it’s way to be easy to use and debug. With that in mind they added the check option to the cli so you can get an at a glance health check. Once again be sure you’re running this for each workload cluster.
# Run this once per cluster
linkerd check
Adding Multi Cluster Support
Now that we’re happy with the per cluster install we need to extend it to handle multi cluster.
# Run this once per cluster
linkerd multicluster install | kubectl apply -f -
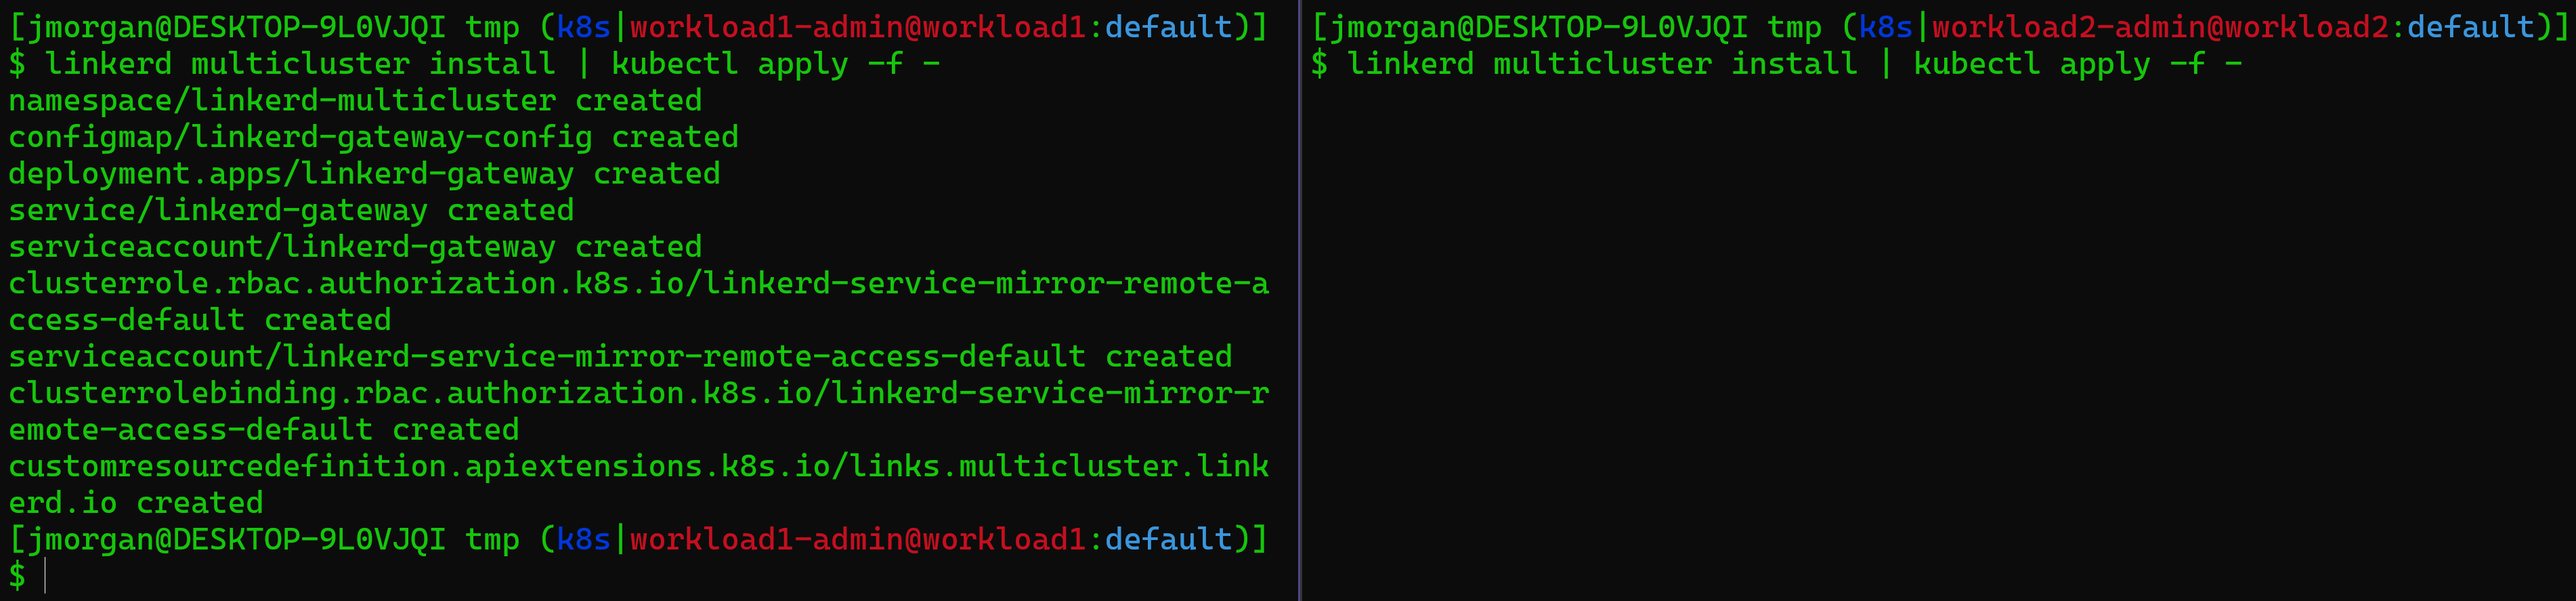
You can check the status of your multicluster install a few different ways. We’re going to exercise the Linkerd cli a bit, then take a peak at our kubernetes objects. The big thing we’re looking for is to ensure our new gateway has a load balancer assigned to it.
# Run a check with linkerd
linkerd check --multicluster

# Check the new pod
kubectl get pods -n linkerd-multicluster

# Check for a loadbalancer attached to the linkerd-gateway service
kubectl get svc -n linkerd-multicluster

# Ensure the load balancer has been assigned
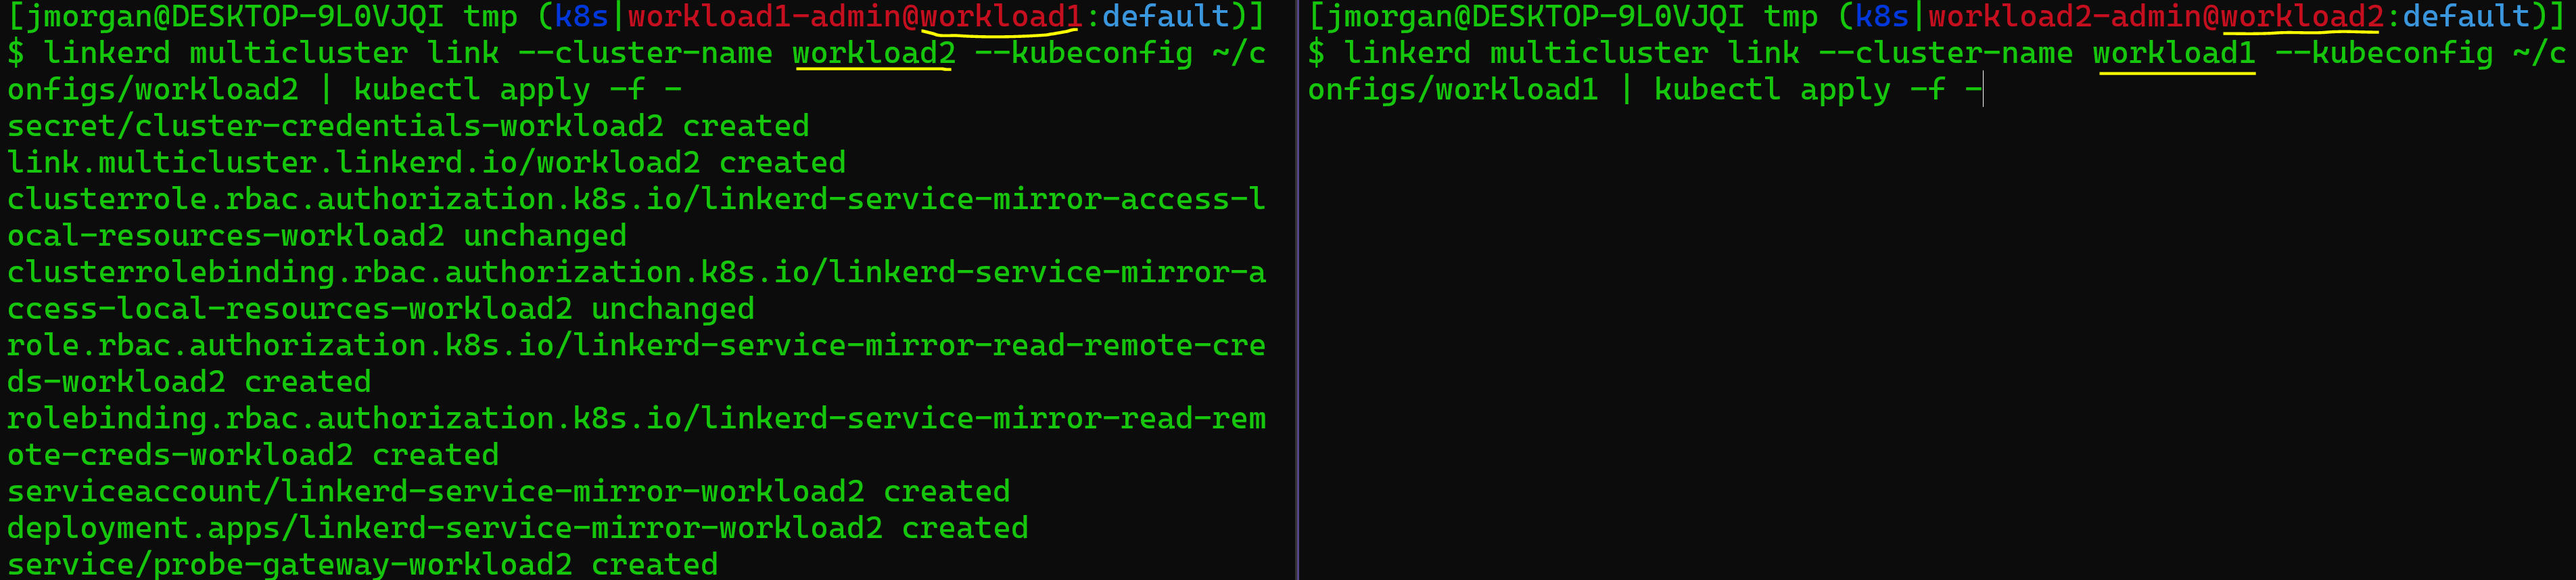
With our new gateways up and running we now want to “link” our clusters. You can get a more detailed explenations in the docs but the short version is that running the link commands will allow the clusters to talk and build/maintain the service mirrors.
This part can be a little tricky so I’ll include a screen grab after. What we need to do is run our Linkerd link command to generate the yaml from 1 cluster then use kubectl to apply it to the other cluster.
# Run for each cluster
## I accomplish this by running two terminals

### one with the $KUBECONFIG variable set to ~/configs/workload1
#### Then run:
linkerd multicluster link --cluster-name workload2 --kubeconfig ~/configs/workload2 | kubectl apply -f -

### one with the $KUBECONFIG variable set to ~/configs/workload2
#### Then run:
linkerd multicluster link --cluster-name workload1 --kubeconfig ~/configs/workload1 | kubectl apply -f -
You can, hopefully, see that a little more clearly in the screen grab below. Note the red section of the prompt indicates the current kubernetes context.
Next you’ll want to validate the clusters are properly linked. Start by running linkerd multicluster gateways for each cluster. You should see something like this:

Note that each cluster sees the other’s gateway. On top of that we can rerun our Linkerd check to see more multicluster health check outputs.
linkerd check --multicluster
With that all your checks should be passing and your clusters are now ready for some workloads.
Getting our Test Service Installed
The default docs want you to use two podinfo configs mapped to the values east and west. I wanted to pair it up to my cluster names so I pulled the app config into it’s own repo. You can also use the east/west names from the docs by pulling app definitions from the Linkerd website.
When running the commands be sure you run a different version of the app manifest for each cluster.
# the podinfo repo at the path below has the config for 2 clusters, workload1 and workload2
kubectl apply -k github.com/jasonmorgan/podinfo/workload1/

With that done now is a good time to checkout our new podinfo web service and see what it looks like. Run the following command for each cluster, be sure to either use a different port or run one at a time then browse to your the page.
kubectl port-forward svc/frontend 8081:8080 -n test
Then open a browser to localhost:8081. You should see something that looks like this:
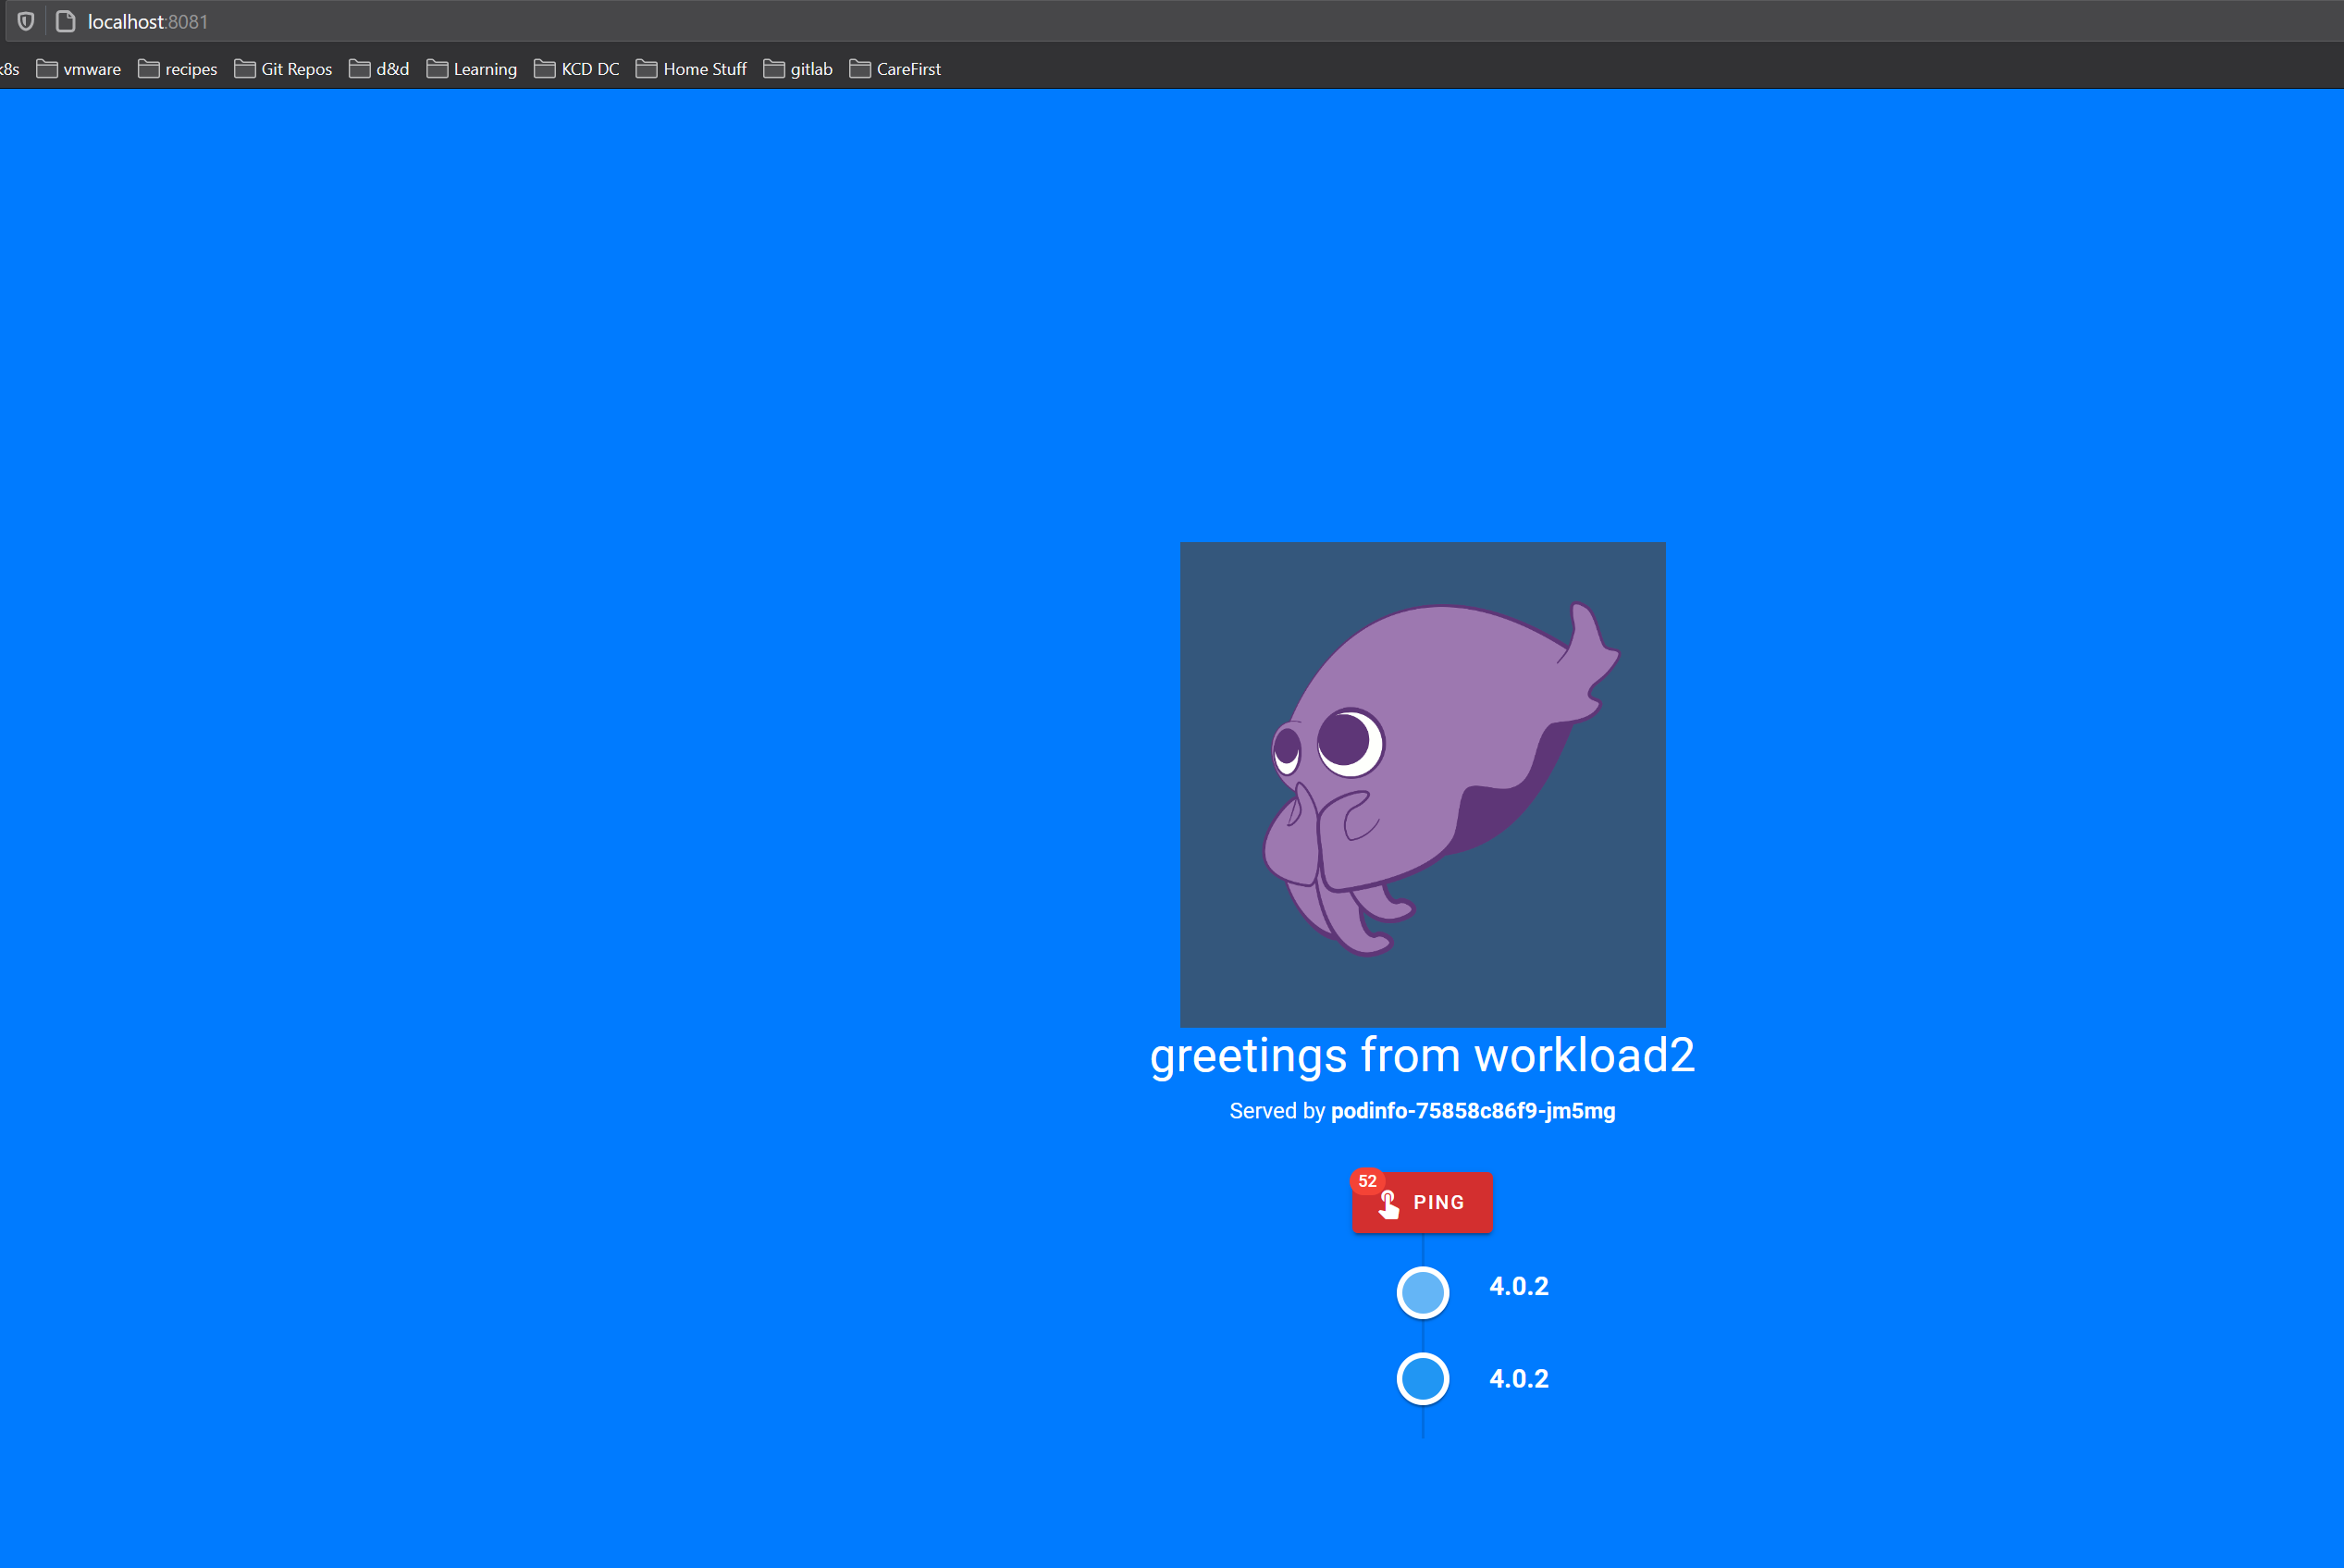
Later on when we get to Traffic Splitting you’ll be able to see the traffic shift from one cluster to the other with the port-forwarding.
Linking, or Exporting, a Service
When we decide we want to share a service between clusters we need to let Linkerd know which services to mirror. We do that with mirror.linkerd.io/exported=true label, alternatively if you’d like to modify the key you can find it on the links.multicluster.linkerd.io object in the linkerd-multicluster namespace.
# You'll only need to run this on the workloads in one cluster. I ran it on workload2
kubectl label svc -n test podinfo mirror.linkerd.io/exported=true
You can now check the other cluster for the new service. I got the following output on workload1:
kubectl get svc

NAME                TYPE        CLUSTER-IP       EXTERNAL-IP   PORT(S)             AGE
frontend            ClusterIP   100.65.191.192   <none>        8080/TCP            38m
podinfo             ClusterIP   100.70.110.153   <none>        9898/TCP,9999/TCP   38m
podinfo-workload2   ClusterIP   100.68.52.124    <none>        9898/TCP,9999/TCP   7s
Technically you’ve now completed the task of sharing a service between clusters with Linkerd on Tanzu Kubernetes Grid. That being said we still don’t have any cool demos to show off so lets keep going.
You can move on to the next section where we split traffic. If you’d like some more detailed tests checkout this section of the docs or to see a walkthrough of validating TLS look here.
Splitting Traffic
This is where we start to see some of the power of a tool like Linkerd in combination with the Service Mesh Interface (SMI). SMI is aiming to provide for our mesh layer what CNI, or the Container Network Interface, provides for our pod networks. It is a standard interface that allows us to define common tasks like splitting traffic, surfacing metrics, or defining access controls. SMI is still early days but you’ll be able to see some of what it can do in this example. We’re going to leverage the Traffic Split spec in order to share requests between the new podinfo services on workload cluster 1 and 2.
Lets create a TrafficSplit object and hand it off to our kube cluster.
apiVersion: split.smi-spec.io/v1alpha1
kind: TrafficSplit
metadata:
  name: podinfo
  namespace: test
spec:
  service: podinfo
  backends:
  - service: podinfo
    weight: 50
  - service: podinfo-workload2
    weight: 50
The file above will tell Linkerd to split traffic for the podinfo service between the local podinfo on workload1, known locally as podinfo, with the podinfo service on workload2, know locally as podinfo-workload2. Save the yaml content from above into a file called split.yaml.
Before we talk anymore about it lets get it up and running and checkout the output. Start by doing that port forward operation we talked about when we first deployed the podinfo app, we need to ensure we’re running it on workload1.
kubectl port-forward svc/frontend 8081:8080 -n test
browse to localhost:8081 on your local browser and keep it open, we’re going to watch what happens when we set up traffic splitting.
Now apply that split.yaml we created earlier to your workload1 cluster.
kubectl apply -f split.yaml

At this point you should see your browser switching between the local and remote podinfo services. With that you’ve successfully split traffic between two kubernetes clusters with Linkerd! This is pretty neat as an example but think about some other ways we could apply this. We could isolate PCI workloads to a PCI cluster or run backing services in one cluster and front end apps in another.
Wrap Up
Well I hope y’all were able to follow along and I really hope you got to have a, “that’s pretty cool” moment when we split the traffic for podinfo between clusters. I certainly enjoyed it. If this is interesting I’d recommend you dig a little deeper into Linkerd and see how to expand on this example by connecting an app between clusters.
Once I got the hang of it I was able to run through the end to end example in about 30 minutes. I’m definitely looking forward to seeing one of my customers give this a shot and I’ll be eagerly waiting for multi cluster networking with Linkerd to support database connections.
Thanks so much for reading and I’d love to hear any feedback you have,
Jason